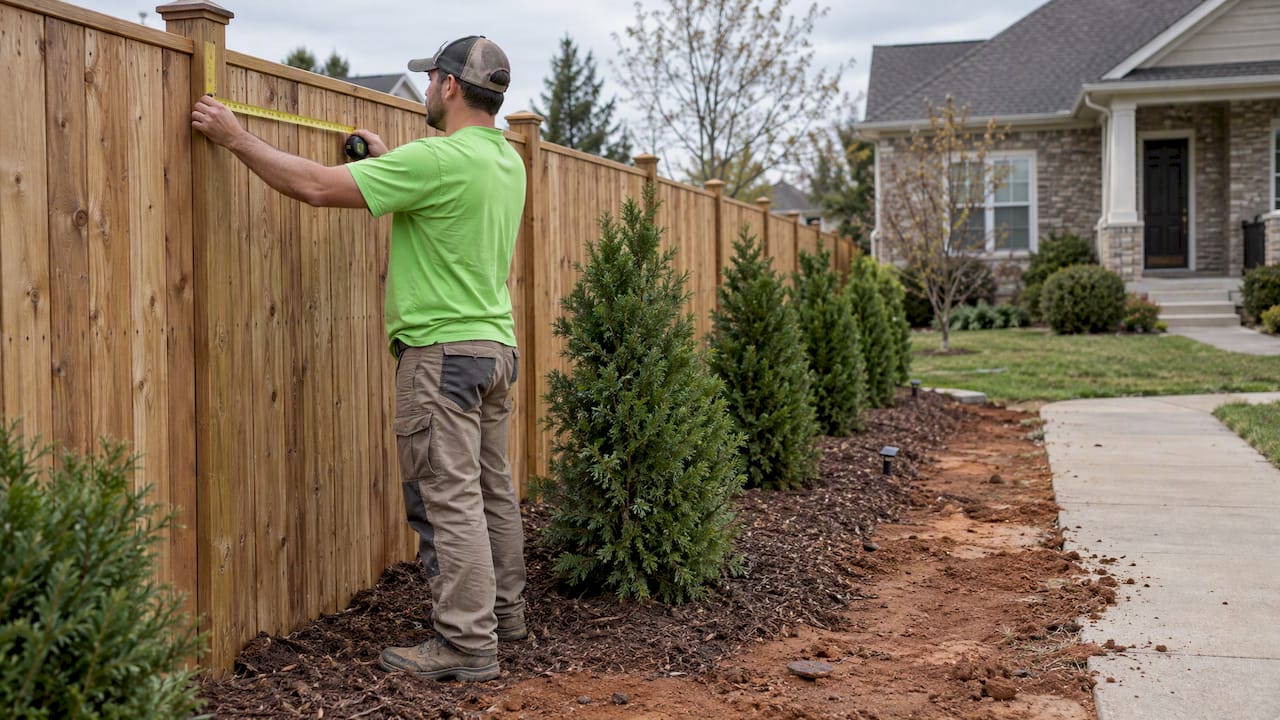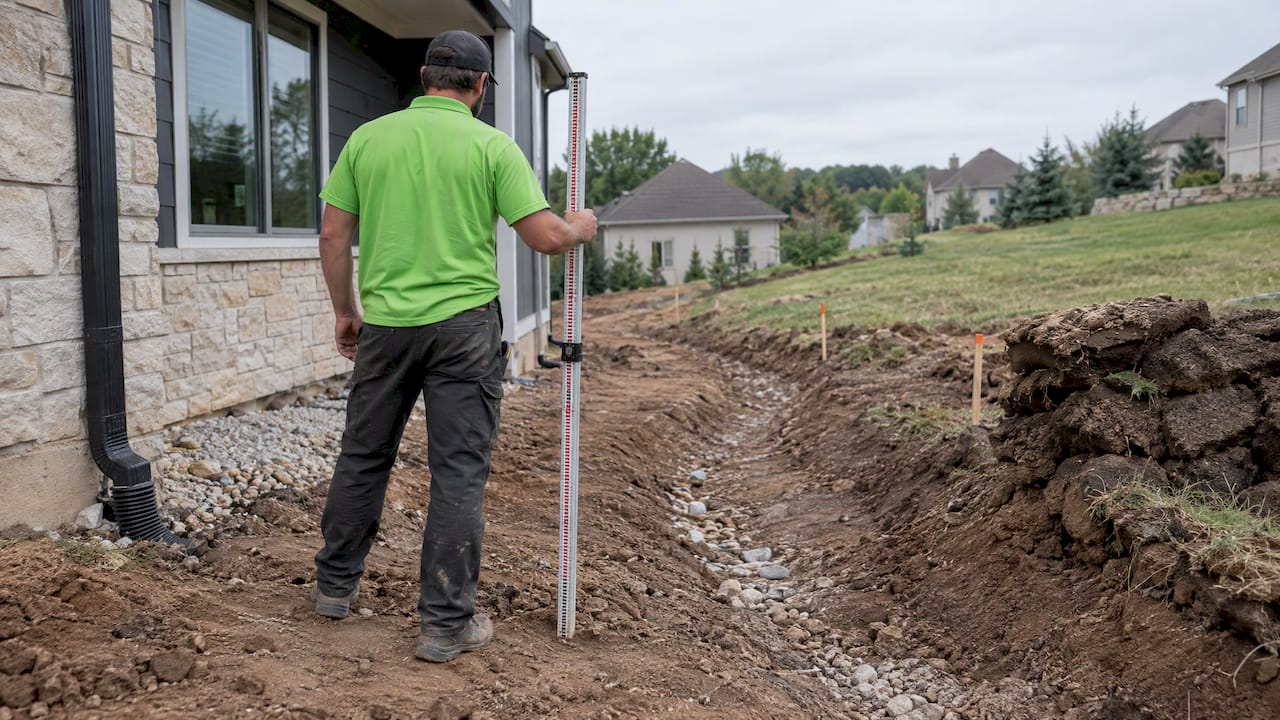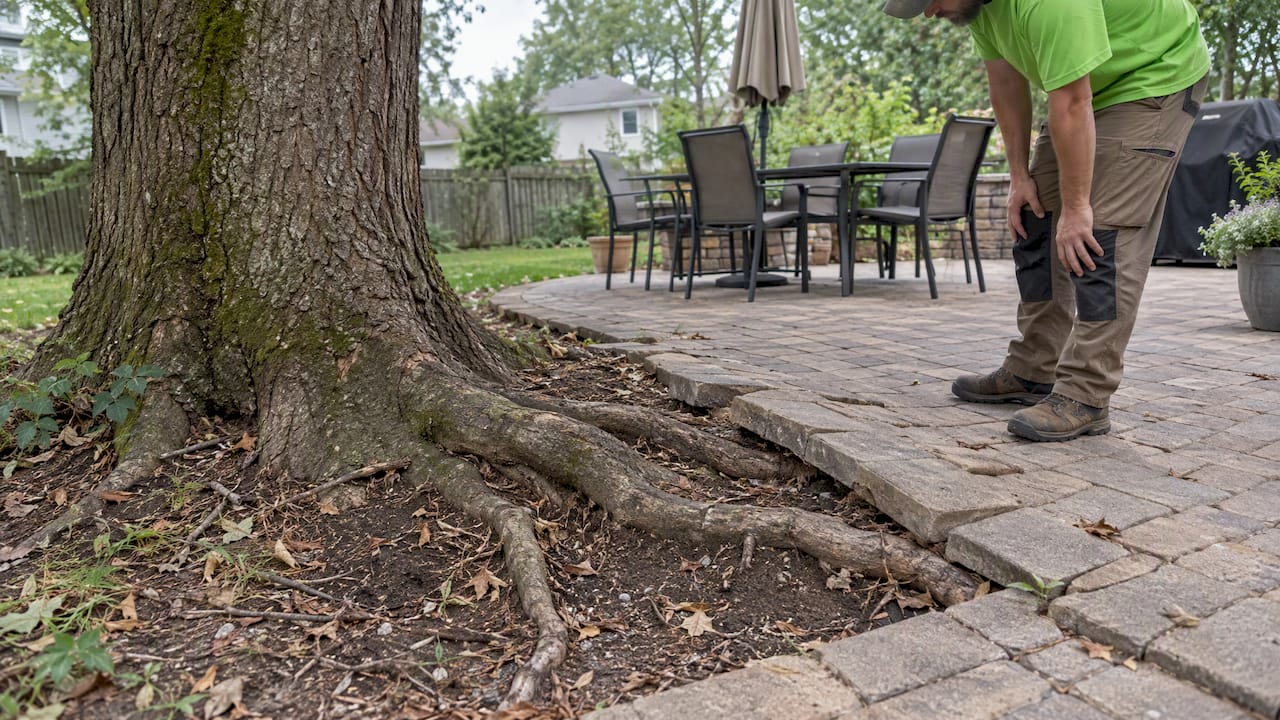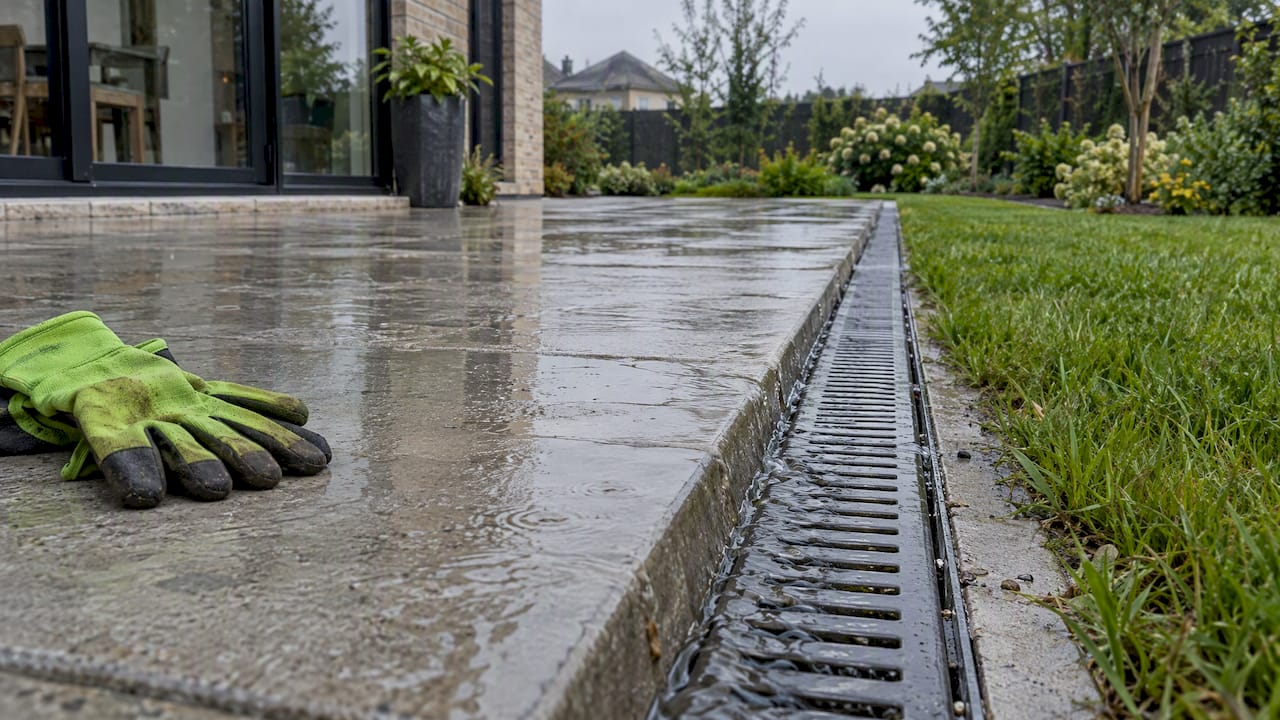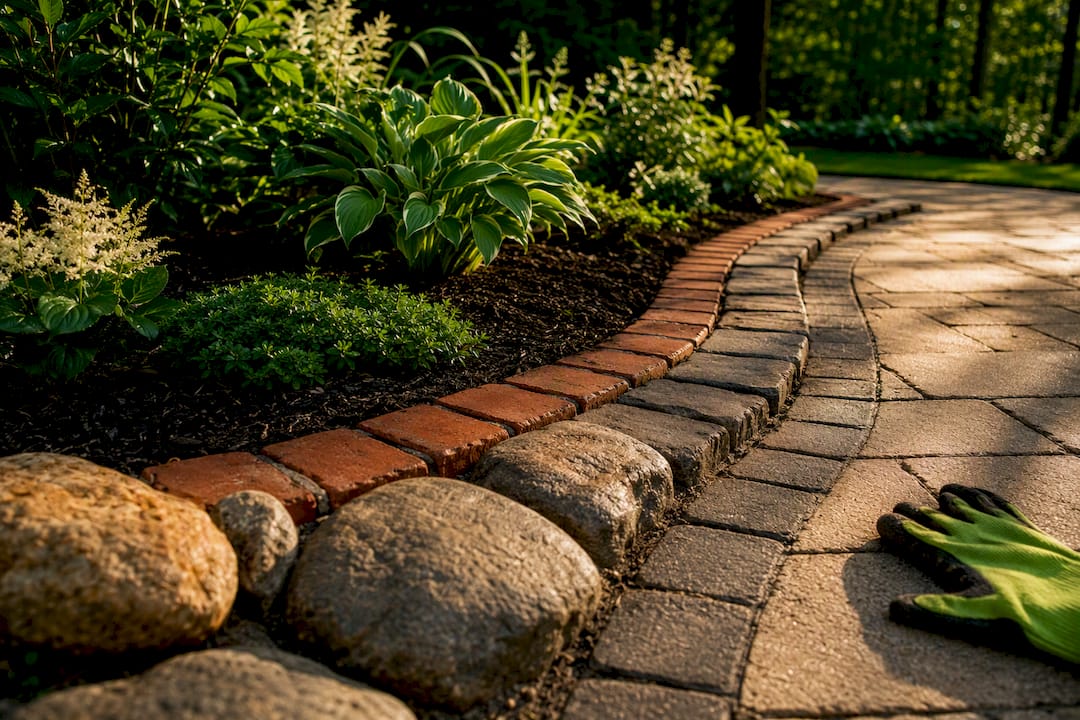
The single most important design rule is to ensure a positive slope away from the house and choose a drainage method that matches your soil’s infiltration rate. Start by checking your patio’s pitch and running a quick soil infiltration test. From there, your best options are regrading with swales, trench or channel drains, French drains, permeable pavers with a properly sized stone reservoir, or a dry well for discharge. If your yard has clay soil, a steep grade, or sits close to your basement, call a contractor before you dig.
TL;DR:
- Proper site assessment is essential to identify water flow patterns, soil infiltration rates, and potential low spots before choosing a drainage solution.
- Surface grading should slope at least 1.5% to 2% away from the house, with regrading often being the most cost-effective fix for poor slopes.
- French drains and trench systems require consistent sloping trenches, filter fabric, and clear outlets to carry water effectively without clogging or backflow.
- Permeable pavers demand adequate native infiltration and proper reservoir size, with underdrains or overflow routes necessary for slow-draining soils or heavy storms.
- Regular maintenance, including clearing debris and re-leveling, extends system life; complex problems like clay soil or persistent pooling require professional design.
Table of Contents
- Start with a site assessment before you choose a fix
- Fix the surface grade before you add anything underground
- Move water underground with French drains and trench systems
- Design permeable pavers around your soil’s infiltration rate
- Handle storms bigger than your system with dry wells
- Get the construction details right the first time
- Keep your drainage system working for years, not just one season
- When a drainage problem calls for a professional design
- Get a drainage plan built around your yard
- Where to check these drainage guidelines yourself
- Sources
- FAQ
Start with a site assessment before you choose a fix
Before you decide on a drainage method, you need to know where the water is coming from and where your soil will let it go. Walk your yard after a rain and note where water pools, where it flows, and which surfaces (roof, downspouts, driveway, neighboring patios) are feeding that flow toward your patio area.
Once you’ve mapped the flow, measure your patio’s slope. A positive slope away from the foundation is the baseline requirement for any patio, and correcting a negative slope later often requires costly interventions like patio replacement or invasive drainage work. Here’s a simple process to check your own site:
- Set a string line or long level from the house side of the patio to the outer edge.
- Measure the drop over a known distance. A slope of roughly 1.5% (about 1/4 inch per foot) is the common minimum, with 2% to 4% preferred where more runoff needs to move.
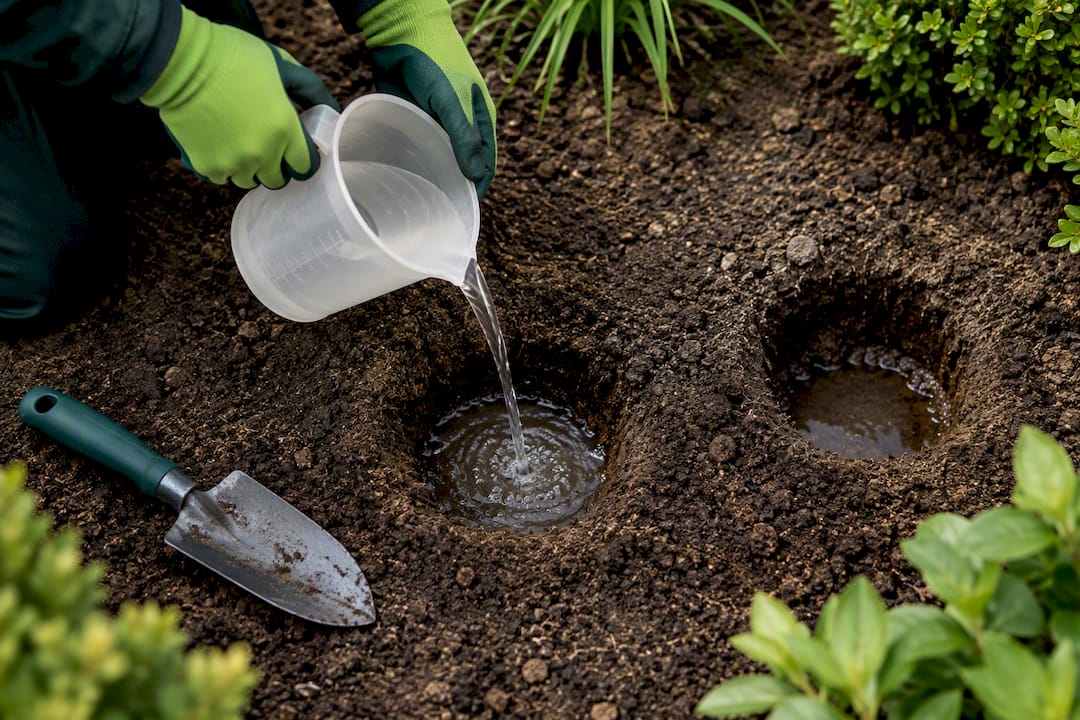
- Run a basic infiltration test: dig a small hole about 6 inches deep, fill it with water, let it drain once, then refill and time how fast the water level drops.
- Compare that drawdown rate to the guidance for your planned system. Slow-draining soil steers you toward subsurface or engineered solutions, rather than surface fixes alone.
Watch for red flags that go beyond a homeowner fix: soil that stays saturated for days, bedrock close to the surface, or a high seasonal water table. Any of these usually calls for an engineered plan rather than a weekend project.
Pro Tip: Test infiltration in more than one spot. Soil compaction and buried debris can make drainage rates vary across the same yard.
Fix the surface grade before you add anything underground
Surface grading is the foundation of every drainage plan, and it’s often the cheapest fix available. If your patio slopes toward the house instead of away from it, no amount of piping underneath will solve the problem long term.
- Regrade the patio surface to maintain a consistent slope away from the structure, targeting at least 1.5% and up to 2% to 4% where runoff volume is higher.
- Size shallow swales with a 3-to-1 width-to-height ratio and a 2% to 4% longitudinal slope so water moves without pooling or eroding the channel.
- Place point drains or trench drains at low edges, thresholds, and doorways where surface flow naturally collects.
- Connect any surface drain to a pipe that carries water to a proper outlet rather than letting it dump into a low spot nearby.
Surface fixes work well for small volumes of runoff on soil that drains reasonably well. They tend to fail when the soil underneath has low infiltration, or when roof runoff and hardscape runoff combine into more water than a shallow swale can carry. That’s usually the point where a subsurface system becomes necessary rather than optional.
Move water underground with French drains and trench systems
A French drain is a trench filled with gravel around a perforated pipe, designed to intercept water below the surface and carry it to an outlet before it reaches your patio or foundation. Trench depth typically varies depending on soil type and outlet depth requirements.
Pipe choice matters more than most homeowners expect. Smooth PVC pipe is generally preferred over corrugated pipe where sediment and clogging are a concern, since corrugated ridges trap fine particles that smooth pipe simply passes through. Wrap the pipe in filter fabric and surround it with clean, washed stone to keep soil fines from working their way in.
Here’s what a solid French drain installation includes:
- A trench sloped consistently toward the outlet, with no low spots where water could sit.
- Perforated pipe bedded in washed gravel, wrapped in geotextile fabric to filter out fines.
- A minimum slope on the pipe itself, since flat or reverse-sloped runs are one of the most common reasons drains stop working.
- A defined outlet, whether that’s a dry well, a storm sewer connection, or a daylight discharge point downhill from the patio.
Termination point is where a lot of installations go wrong. Water needs somewhere real to go, whether that’s a dry well, a municipal storm system, or a daylight outlet that’s lower than the drain itself. Without that, the pipe just becomes an underground bathtub. If you’re reviewing a contractor’s plan, ask specifically about outlet elevation and backflow protection, since a drain that can’t discharge lower than its inlet will eventually back up.
Pro Tip: Ask any contractor to show you the outlet point on the plan before installation starts. If there isn’t a clear, lower discharge point, the drain won’t work.
Common mistakes to watch for include insufficient slope along the pipe run, skipping the filter fabric so fines clog the gravel over time, and outlets that sit at or above the level of the drain itself. Our patio drainage guide covers more on diagnosing pooling before you commit to a fix.
Design permeable pavers around your soil’s infiltration rate
Permeable pavers let water pass through the surface into a stone reservoir below, where it either infiltrates into the ground or drains through an underdrain. They work best on soils that can actually accept water, and they’re not the right fit for every yard.
- Permeable systems need adequate native infiltration; systems should drain completely within 24 to 72 hours after a storm to avoid prolonged saturation.
- Avoid permeable pavers near areas exposed to heavy sediment, vehicle fluids, or other contaminant sources, since clogged pores are hard to restore.
- Reservoir stone depth has to store the design storm volume using the stone’s void space; typical residential base depths often run 6 to 12 inches, with deeper reservoirs needed for larger storms or slower soils.
- Edge restraints and geotextile fabric at the base and sides keep the reservoir structurally sound and prevent soil from migrating into the stone.
When soil infiltration is slow, roughly below 0.1 to 0.5 inches per hour, plan on adding an underdrain and a piped overflow rather than relying on infiltration alone. That single distinction, fast versus slow soil, decides whether a permeable patio can drain on its own or needs mechanical help.
Overflow details matter as much as the reservoir itself. Pop-up drains or piped overflow routes, sloped at a minimum grade to keep water moving, help prevent the system from resaturating during consecutive storms. Skipping this step is a common reason permeable installations perform well in light rain but flood during a heavier one.
Handle storms bigger than your system with dry wells
A dry well is a below-grade pit filled with clean stone that collects and slowly infiltrates water from a downspout, French drain, or overflow pipe. It’s the release valve for storms that exceed what your surface and subsurface systems can hold.
- Excavate the pit, line it with filter fabric, fill with clean, washed stone, and run perforated entry pipe into the center so water disperses evenly.
- Keep dry wells set back from the foundation and sited well above the seasonal high groundwater level so they don’t just fill and stay full.
- Use piped overflow with a pop-up drain sloped at a minimum of about 2% so excess water has a clear, positive path away from the patio during heavy storms.
- Consider a lined dry well in tight soils, and check with your local building department, since some jurisdictions require permits for dry well installation.
Dry wells work as a backstop, not a primary drainage plan. They shine when paired with a French drain or downspout system that needs somewhere reliable to send overflow.
Get the construction details right the first time
Even a well-designed drainage plan fails if the materials and installation are wrong. A few construction checkpoints separate systems that last decades from ones that clog or shift within a couple of seasons.
- Use washed, angular stone like #57 or #2 gradation for drainage layers, since unwashed stone carries fines that clog pore space over time; #78 stone is often used for finer bedding layers.
- Choose non-woven geotextile fabric for most drainage applications, since it filters fines while letting water pass; woven fabric suits situations that need higher strength with less permeability.
- Install solid edge restraints, whether concrete or metal, around permeable pavers and drainage trenches to stop paver migration and keep joint material in place.
- Compact the base layer for structural stability, but avoid over-compacting the subgrade under permeable systems, since excess compaction reduces the soil’s ability to accept water.
Pro Tip: If a contractor’s bid doesn’t specify stone gradation or fabric type, ask. Vague material callouts are one of the easiest ways to spot a rushed drainage plan.
For more on how base prep affects long-term patio performance, this patio base preparation guide walks through gravel depths and compaction from a mason’s point of view.
Keep your drainage system working for years, not just one season
Every drainage system needs occasional attention, even the ones built correctly. Skipping maintenance is how a good design turns into a clogged one within a few years.
- Vacuum or sweep permeable pavers a few times a year to keep sediment from settling into the joints and blocking infiltration.
- Clear debris from trench drains, catch basins, and pop-up outlets after leaf drop and heavy storms.
- If water starts pooling where it didn’t before, test infiltration again; surface cleaning or a localized stone refresh often restores performance without a full rebuild.
- Watch for settlement: minor dips are usually a re-leveling job, while widespread sinking near the foundation can signal a structural or soil issue underneath.
Persistent wetness near the foundation, moisture inside the basement, or visible erosion at the patio’s edge are warning signs that shouldn’t wait. Freeze thaw cycles can also worsen small drainage flaws each winter, so catching an issue in fall often saves a bigger repair in spring.
When a drainage problem calls for a professional design
Some drainage problems are genuinely manageable with a weekend, a level, and a bag of gravel. Others aren’t, and knowing the difference saves homeowners from expensive do-overs. Complex grade changes, clay-heavy soil, sites that stay saturated after rain, or any hint of water pooling near a foundation are all situations where a professional site visit pays for itself.
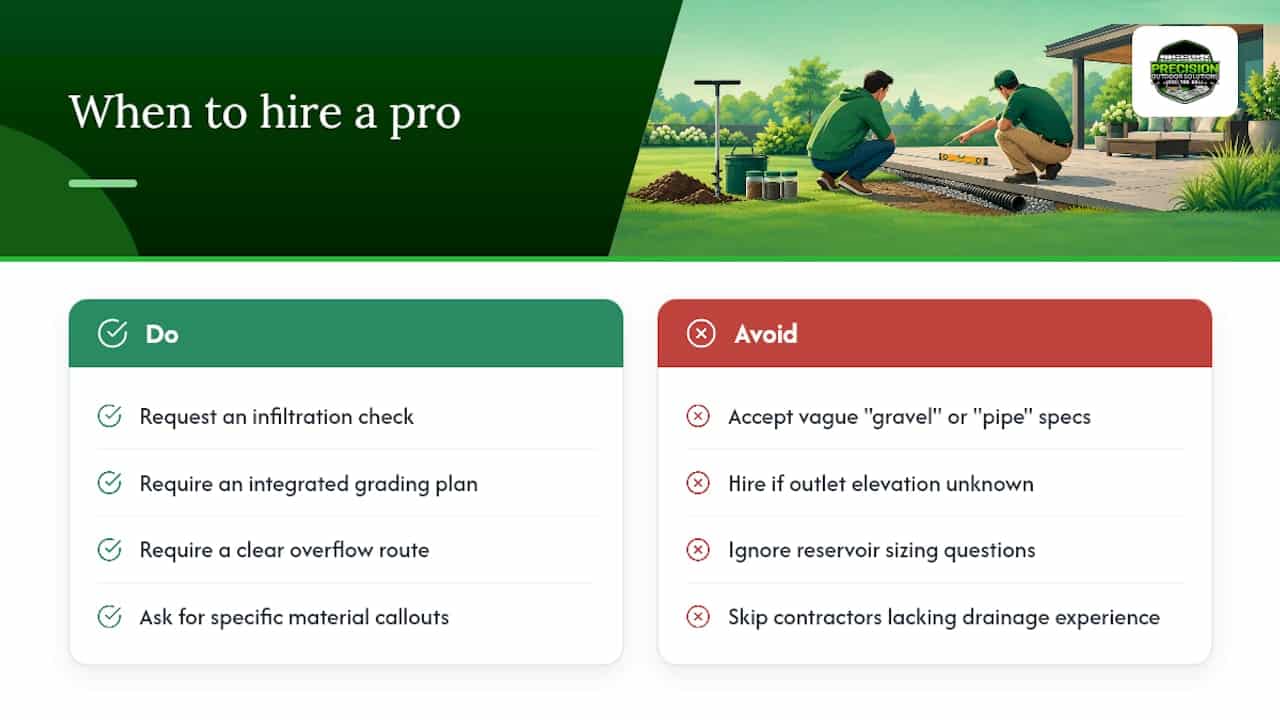
A quality site visit should include an infiltration check, a grading plan that accounts for roof and yard runoff together, a clear overflow route for storms bigger than the system’s capacity, specific material callouts (not just “gravel” or “pipe”), and written recommendations you can actually compare against other bids. If a contractor can’t answer questions about outlet elevation or reservoir sizing, that’s worth noting.
A company with extensive experience in designing outdoor spaces around drainage shapes how projects get planned from the first site visit, with attention to slope, soil, and long-term stability built into the design rather than added as an afterthought.
— Precision Outdoor Solutions
Get a drainage plan built around your yard

A DIY swale or a French drain kit can help with small problems, but matching the right system to your soil, your slope, and your roofline takes a site visit and some judgment calls that are easy to get wrong. The company builds that judgment into every project, starting with an honest look at the yard before recommending a fix.
- Landscape Design integrates drainage planning into the overall layout of your outdoor space from the start.
- Hardscape & Patio Installation builds drainage-aware patios with correct slope and base detail from day one.
- Yard Drainage Solutions address standing water, foundation risk, and problem grading directly.
A consultation typically includes a site assessment, a grading and material plan, and a rough estimate you can use to compare options. If your patio holds water after every storm or you’re planning a new one, reach out through our drainage solutions page to schedule a site visit and get a plan built around your actual yard, not a generic template.
Where to check these drainage guidelines yourself
Homeowners and contractors can review the technical thresholds cited here directly: the Building America Solution Center on grading and French drains, University of Florida IFAS and Oregon State Extension on permeable pavement design, and the EPA’s Soak Up the Rain program on low-impact development. Always confirm requirements against your local building code or municipal LID manual before construction.
Sources
- Swales, Drains, and Site Grading for Stormwater Control | Building America Solution Center
- Permeable Pavement Systems: Technical Considerations
- Additional notes: porous pavement (Extension Oregon State)
- Soak Up the Rain — Permeable pavement | EPA
FAQ
What is the best drainage system for a patio?
There’s no single best system: the right choice depends on your soil’s infiltration rate and how much runoff reaches the patio. Well-draining soil often works with permeable pavers, while slow-draining clay soil usually needs a French drain, trench drain, or dry well instead.
How to create drainage in a patio?
Start by grading the patio surface to slope away from the house, typically at least 1.5% or about 1/4 inch per foot. From there, add a swale, trench drain, or subsurface French drain depending on how much water needs to move and how fast your soil absorbs it.
Can I just use gravel for drainage?
Gravel alone helps water move but doesn’t solve drainage on its own; it needs a perforated pipe, proper slope, and a real outlet to actually carry water away. A gravel-filled trench with no outlet just becomes a hidden reservoir that eventually overflows.
What does proper drainage on a paver patio look like?
Proper drainage on a paver patio means a consistent slope away from the house, joints and base stone that allow water through rather than trapping it, and a reservoir or drain system sized for your soil’s infiltration rate. On permeable paver systems, that also means an underdrain or overflow route when soils drain slowly.
Recommended
- Patio Drainage Solutions That Actually Stop Water Pooling
- Drainage First Saves Joists: Under Deck Patio For St. Charles County
- Yard Swale Design Specs That Deliver 24–48 Hour Drain For Homeowners
- Retaining Wall Drainage: A Practical Homeowner’s Guide
This article was prepared with AI assistance for general information. For recommendations specific to your property, contact Precision Outdoor Solutions. Call or text us at (636) 358-8644.