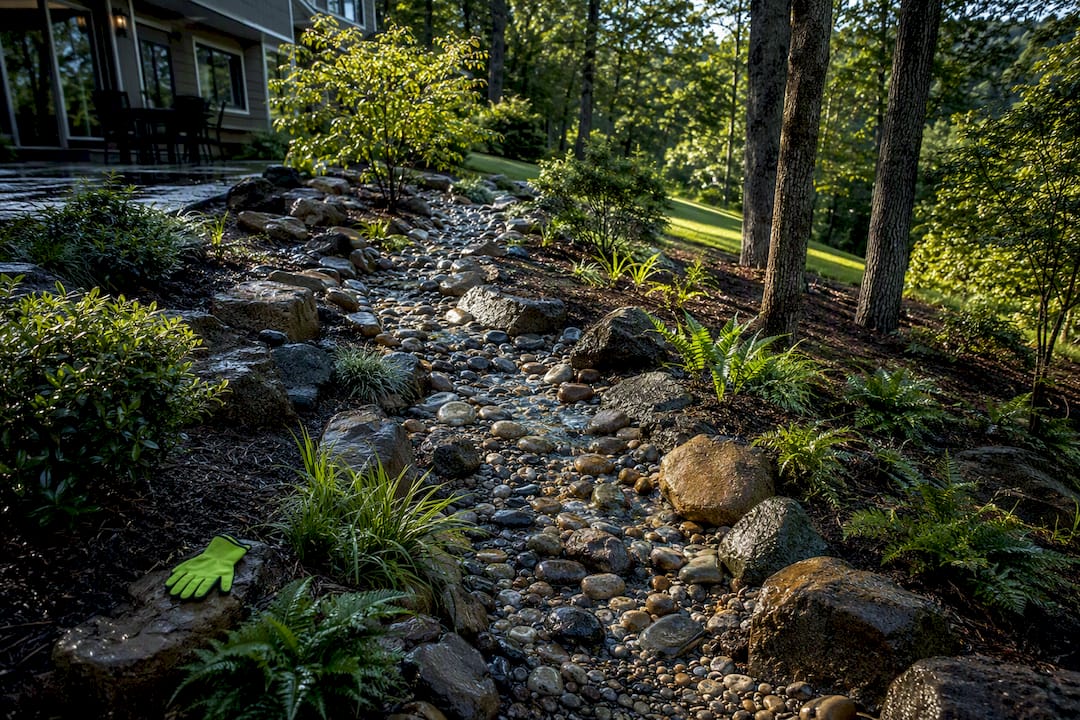
A landscape design process delivers a site-tested master plan that’s ready for phased installation, built through a sequence of base plan, site analysis, needs assessment, concept diagrams, master plan and construction documents, planting plan, contractor selection, construction, and ongoing maintenance. Plant choices and finishing touches come last, only after drainage and grading problems are solved. Follow these steps in order and you’ll avoid the costly redos that come from skipping straight to plant shopping.
TL;DR:
- Ensuring drainage and grading issues are resolved before planting is crucial to prevent costly problems like flooding or erosion later on.
- A precise, scaled base plan including property lines, existing features, and elevations provides a reliable foundation and helps avoid boundary or utility conflicts.
- Site analysis of sun, soil, drainage, and wind conditions influences plant placement, layout, and long-term landscape health.
- Detailed construction documents with clear specifications reduce bids’ ambiguity, minimize surprises, and control project costs.
- Conducting an on-site consultation and phased supervision during construction helps identify unforeseen issues early, saving time and money.
Table of Contents
- Developing a Base Plan: Your Property’s Foundation Document
- Site Analysis: Testing Sun, Soil, Drainage, and Wind
- Assess Your Needs and Establish Use Areas
- Concept Plans: Testing Layout Options Before You Commit
- Master Plan and Construction Documents: What Builders Need
- Planting Plan: Matching Plants to Place and Purpose
- Choosing Contractors, Getting Bids, and Budgeting
- Construction Phase: Monitoring, Surprises, and Phasing
- Maintenance: Establishing the Landscape for the Long Term
- Why We Design Drainage First, Every Time
- Start Your Landscape Design With Precision Outdoor Solutions
- FAQ
- Sources
Developing a Base Plan: Your Property’s Foundation Document
Before any design work begins, we need an accurate, scaled drawing of your property as it exists today. This is the base plan, and every later decision traces back to it.
A solid base plan includes:
- Property lines, easements, and setbacks pulled from your plat or survey
- The house footprint, including doors, windows, and roof overhangs that affect sun and drainage
- Existing hardscape: decks, driveways, walkways, and fences
- Utility lines and meters, both visible and underground where known
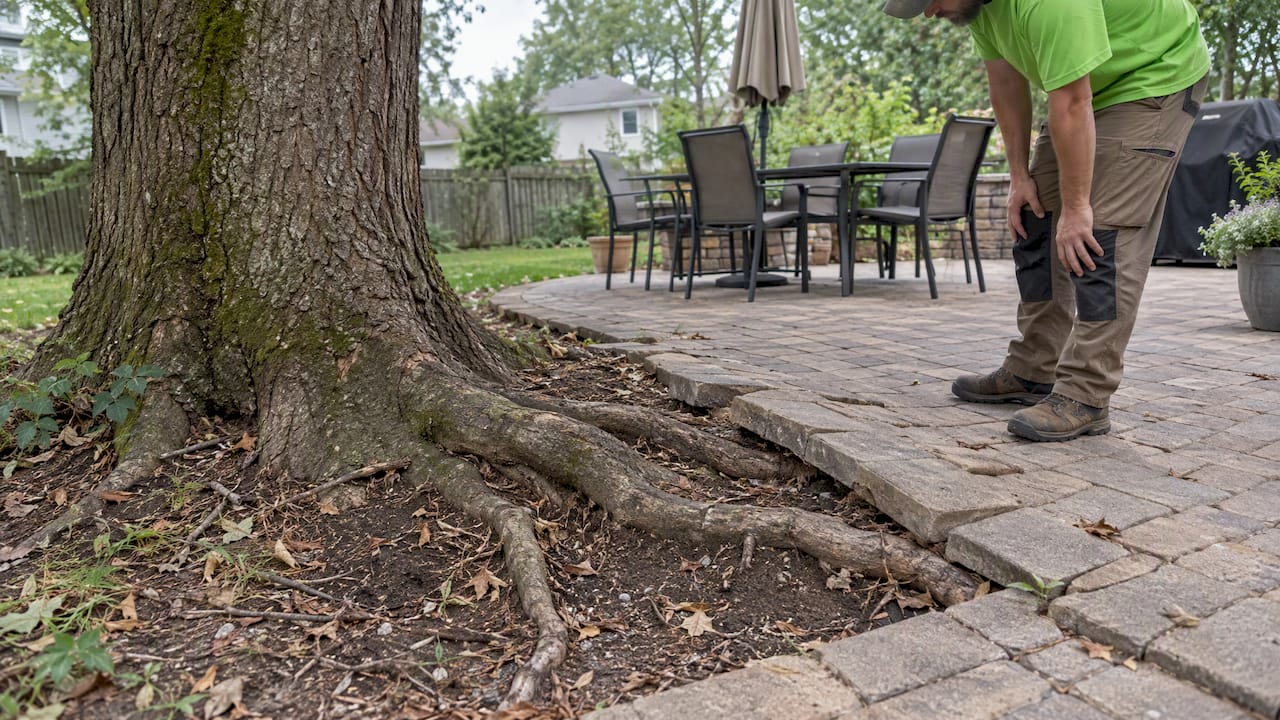
- Large trees and other permanent landscape features
- Spot elevations where the yard slopes noticeably
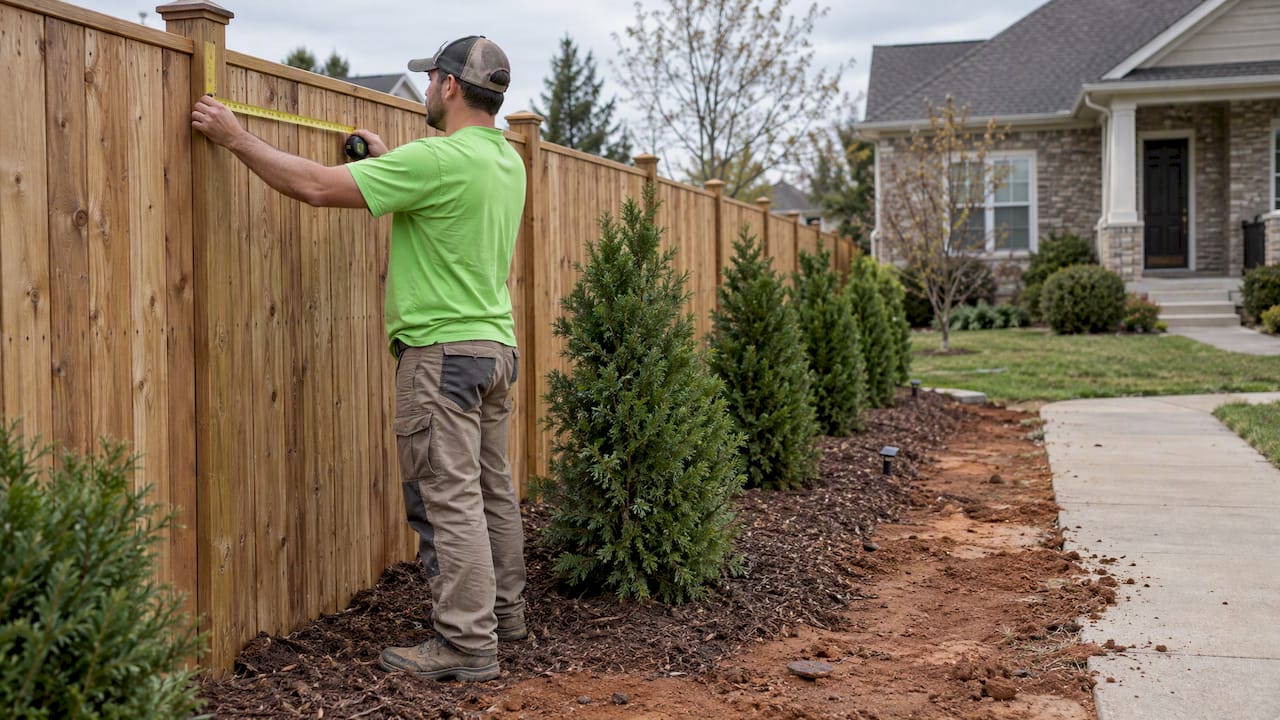
Most homeowners can measure their own lots with a 100-foot tape and graph paper, drawing at a scale of 1 inch equals 10 feet, a standard many Extension publications recommend for residential lots. Your county assessor’s office often has property dimensions on file, which saves time. If your lot has significant elevation changes or disputed boundary lines, a licensed surveyor is worth the cost. A clean, accurate base plan heads off boundary disputes and utility conflicts long before they become expensive problems.
Site Analysis: Testing Sun, Soil, Drainage, and Wind
Once your base plan exists, layer your site conditions on top of it. This step, called site inventory and analysis, documents the physical realities that will shape every design decision that follows, according to Mississippi State University Extension.
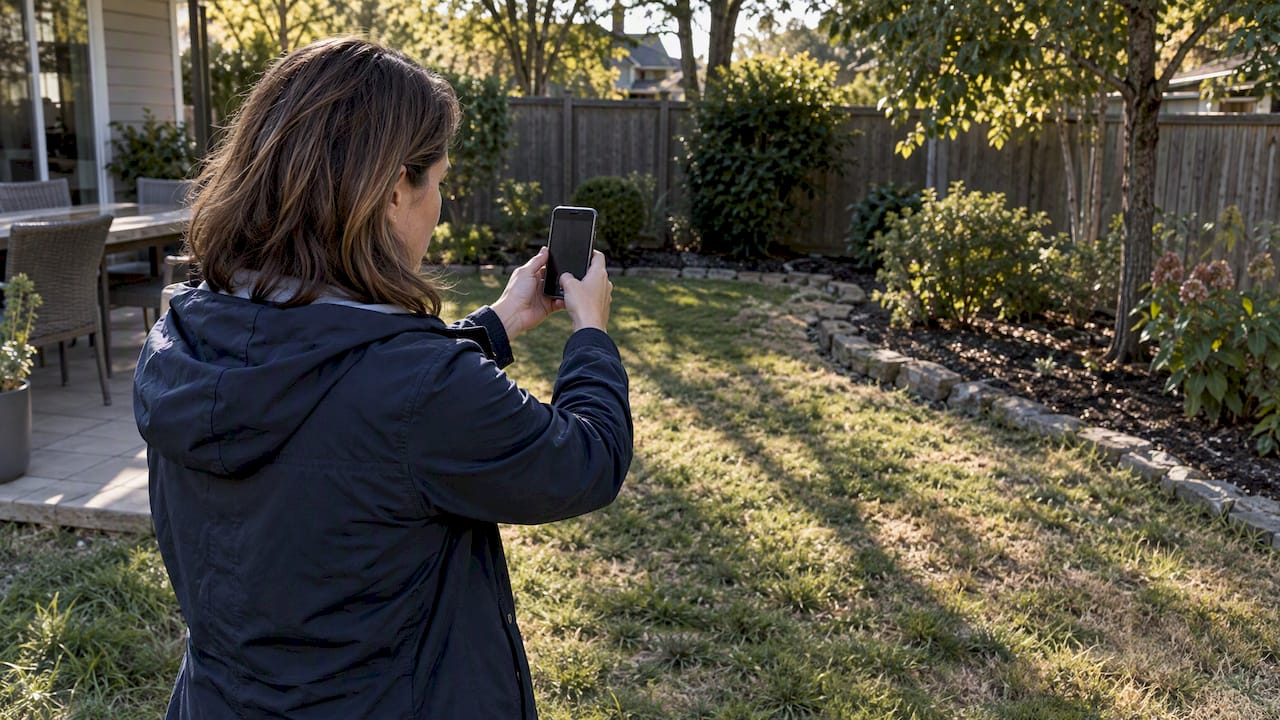
- Track sun and shade patterns across the yard at three points in the day, ideally in more than one season.
- Test your soil texture with a jar test: fill a clear jar partway with soil, add water, shake, and let it settle into sand, silt, and clay layers overnight.
- Run a simple percolation test by digging a 12-inch hole, filling it with water, and timing how long it takes to drain.
- Map slope direction and low spots where water naturally collects after rain.
- Note prevailing wind direction, valued views, and the location of utility lines, meters, and septic fields.
Drainage and soil constraints matter more than style preferences at this stage. A beautiful patio placed in a low spot that floods every spring is a problem no amount of planting will solve. Poor site analysis is one of the most common causes of expensive mid-project changes.
Pro Tip: Take dated photos of sun and shade patterns from the same spot every few hours. They’re far more reliable than memory when you sit down to design months later.
Assess Your Needs and Establish Use Areas
With site conditions documented, turn your attention to how your family actually wants to use the yard. Build a wish list first, then translate each item into a spatial need: a dining area for eight, a play zone visible from the kitchen window, raised garden beds, storage for tools and bikes.
- List every activity you want the yard to support, from morning coffee to weekend entertaining.
- Apply adjacency logic: an outdoor kitchen works best near the indoor kitchen, and a play area should stay visible from a window you use often.
- Sketch rough bubbles on your base plan to represent each use area before worrying about exact shapes.
- Rank priorities, since front yard curb appeal and back yard living space rarely get built at the same time.
This step turns vague wishes into a workable framework for the design that follows.
Concept Plans: Testing Layout Options Before You Commit
A concept plan is a loose, exploratory sketch that tests two or three layout ideas before anyone commits to measured drawings. It shows general shapes and relationships, not exact dimensions or materials, which come later in the master plan.
- Draw bubble diagrams showing circulation paths between use areas, marking where people will walk most often.
- Mark focal points, such as a fire pit or specimen tree, and test sightlines from the house.
- Walk the actual site with a garden hose or marking chalk to lay out proposed patio edges and bed lines at full scale.
- Compare two or three concepts against your priority list from the needs assessment step.
- Pick the concept that solves drainage and circulation most cleanly, then move it forward into construction documents.
Testing layouts on the ground with a hose costs nothing and catches awkward proportions that look fine on paper but feel cramped in person.
Master Plan and Construction Documents: What Builders Need
The master plan and construction documentation translate your chosen concept into the detailed instructions contractors use to bid and build. Extension guidance identifies this step as one where thorough paperwork prevents the most common budget surprises.
A complete plan set includes:
- A scaled master plan showing exact dimensions, materials, and layout
- A planting plan listing botanical names, sizes, and quantities
- Grading and drainage notes, including pipe sizes and discharge points
- Material and finish specifications for every hardscape surface
- Detail drawings for structures like retaining walls, steps, and pergolas
This level of detail lets you compare contractor bids on an apples-to-apples basis instead of guessing at what’s included. Watch for common omissions such as missing drainage details, unclear backfill specifications, and irrigation allowances left vague. A contract that leaves these items as open allowances rather than specified materials is one of the most frequent sources of cost increases after a bid is signed.
Planting Plan: Matching Plants to Place and Purpose
Plant selection comes near the end of the process, after drainage, grading, and hardscape are resolved, not before. Place trees first since they set the scale, shade pattern, and long-term structure that everything else fills in around, a sequence Extension horticulturists commonly recommend. Shrubs come next to form the middle layer, followed by perennials and groundcovers that fill gaps and add seasonal color.
- Group plants by shared water and light needs so irrigation zones stay simple.
- Favor native or regionally adapted species where they fit your style, since they typically need less water and fewer chemical inputs once established.
- Account for mature size, not just the size at planting, to avoid crowding walls, windows, and walkways.
- Leave access room for pruning, mulching, and seasonal cleanup around each planting bed.
Pro Tip: Sketch mature plant sizes as circles on your plan before you buy anything. A three-gallon shrub that reads as five feet wide at maturity needs that much room now, even though it looks lonely on day one.
Choosing Contractors, Getting Bids, and Budgeting
A complete plan set is your best tool for getting accurate, comparable bids. Send every contractor the full plan, including phasing requests, material specifications, and your timeline, so no one is bidding on guesswork.
- Request itemized bids that separate labor, materials, and equipment costs.
- Read exclusions carefully: what looks like a lower bid may simply be missing scope another contractor included.
- Ask how allowances work and what happens if actual material costs run higher.
- Ask about change-order procedures in writing before signing anything.
- Watch for vague scope language or reluctance to put specifications in the contract, both common red flags.
A contractor who welcomes detailed questions about scope and drainage specifics is usually the one who delivers what was promised.
Construction Phase: Monitoring, Surprises, and Phasing
Construction is where unexpected conditions show up most often, and having someone experienced on-site during critical stages, such as grading and utility work, lets the project adapt without blowing the budget, a pattern Extension practitioners note repeatedly.
- Expect occasional surprises like compacted soils under old lawn areas or utility lines that were never documented on city maps.
- Confirm grading and drainage work before any hardscape goes down, since fixing it afterward costs far more.
- If building in phases, inspect and approve each completed phase before the next one starts.
- Keep photos of trench work and drainage pipe placement before backfilling, in case questions come up later.
Pro Tip: Ask your contractor to flag undocumented utilities or compacted soil in writing the moment they’re found, along with the cost impact, so there are no surprises on the final invoice.
Maintenance: Establishing the Landscape for the Long Term
The first year after installation is an establishment period, not just a maintenance routine. New plantings need consistent irrigation, a fresh layer of mulch to retain moisture, and regular checks that grading still drains the way it was designed to. Young trees typically need staking and light pruning through their first one to two growing seasons.
- Water deeply and less frequently to encourage deep root growth rather than shallow surface roots.
- Schedule pruning and seasonal cleanup on a recurring basis rather than waiting until growth gets out of hand.
- Check irrigation heads and drainage outlets each spring for clogs or damage from winter freezing.
- Budget for professional maintenance on larger properties or complex plantings, and reserve DIY effort for smaller, simpler yards.
Consistent upkeep in year one protects the investment made in every earlier step of the process.
Why We Design Drainage First, Every Time
After 25-plus years in the field, we’ve learned that the projects homeowners love years later are the ones where drainage and grading got solved before a single plant went in the ground. Skipping that step is the single most common regret we hear about. We’ve caught hidden utility lines, compacted soil, and poor grading during construction more times than we can count, each one a problem that would have cost far more to fix after the fact. If your yard has standing water, erosion, or a slope that worries you, a professional design-build approach beats a phased DIY attempt almost every time.
— Precision Outdoor Solutions
Start Your Landscape Design With Precision Outdoor Solutions
If you’re ready to turn a base plan and a wish list into a real outdoor space, we can walk your property with you and map out what’s possible. Our on-site landscape design consultation runs $150 to $650 depending on property size and scope, and it gives you a clear picture of drainage, grading, and layout options before you commit to a full design.

We serve Wentzville, MO and St. Charles County with a full range of services built to solve the problems this guide covers:
- Landscape design that turns your site analysis into a buildable master plan
- Hardscape and patio installation built on properly graded, compacted bases
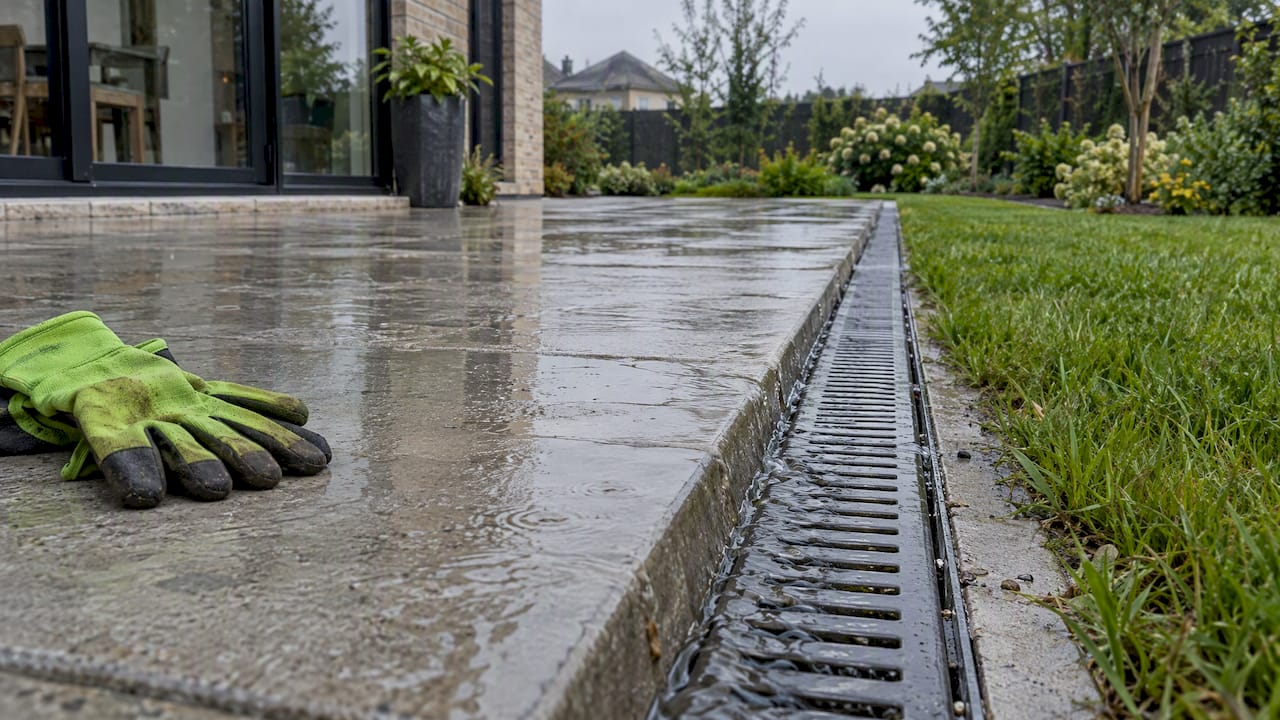
- Yard drainage solutions that fix standing water and poor grading at the source
- Lawn and landscape maintenance to protect your investment through every season
- Concrete services and fence installation to round out a complete outdoor space
Reach out through our contact page to schedule a consultation and get a clear-eyed look at what your property needs before the first shovel goes in the ground.
FAQ
What do you mean by landscape design?
Landscape design is the process of planning an outdoor space by combining site analysis, functional needs, and aesthetic goals into a scaled master plan. It covers everything from grading and drainage to hardscape layout and plant selection, built in a deliberate sequence rather than all at once.
What is the rule of 3 in landscaping?
Landscaping design principles commonly favor grouping plants in odd numbers, such as threes, because odd groupings tend to look more natural than even, symmetrical clusters. Definitions of this rule vary somewhat across sources, but the underlying idea of avoiding stiff, paired plantings is widely shared among landscape designers.
What are the steps involved in landscaping a new yard?
A standard process moves through a scaled base plan, site inventory and analysis, needs assessment, concept diagrams, a master plan with construction documents, a planting plan, contractor selection, construction, and ongoing maintenance, as outlined by Mississippi State University Extension. Drainage and grading issues get resolved before plant selection happens.
How to make your own landscape design?
Start by drawing an accurate base plan of your property at a scale such as 1 inch equals 10 feet, then layer on site conditions like sun, soil, and drainage patterns. From there, sketch use areas and concept options on tracing paper before finalizing a master plan and choosing plants to match your site’s conditions.
Sources
- Home Landscape Design | Mississippi State University Extension Service
- Extension Gardener Handbook — Landscape design (NCSU)
Recommended
- Drainage Solutions
- Yard Swale Design Specs That Deliver 24–48 Hour Drain For Homeowners
- Downspout Drainage Options: A Homeowner’s Practical Guide
- Retaining Wall Drainage: A Practical Homeowner’s Guide
This article was prepared with AI assistance for general information. For recommendations specific to your property, contact Precision Outdoor Solutions. Call or text us at (636) 358-8644.